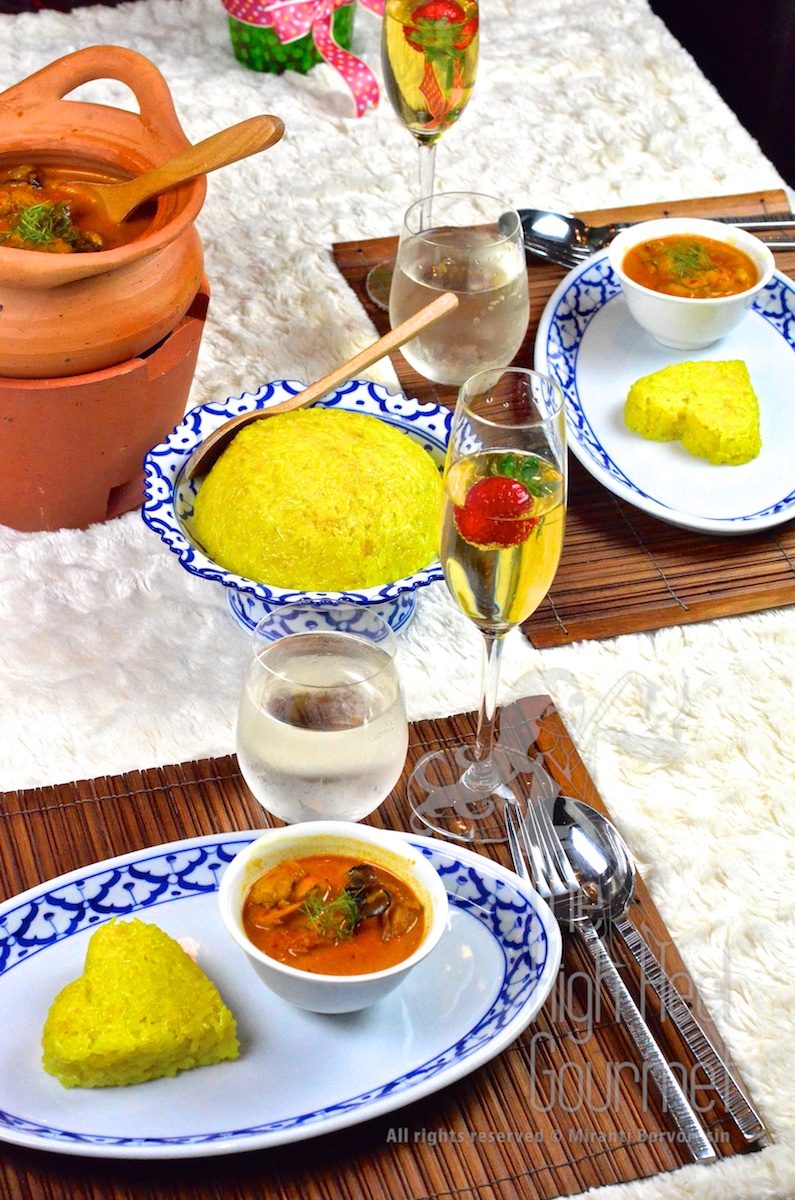
It’s getting close to Valentine’s Day again. In the past two years, I was trying to give an idea for a simple recipe for the Valentine’s dinner that you can cook at home, so you can avoid a crowded evening with a set menu at a restaurant.
The first year I created this blog I offered the recipe for Chicken Milanese and orange in syrup, for dessert. Last year was pineapple fried rice with pineapple panna cotta. You can also do an easy meal like Chicken with tarragon and bake pears too. Anyway, this year I will give you another recipe. This recipe has a long history that’s quite romantic because it is the meal that traditionally would be eaten a wedding ceremony.
I actually didn’t come up with this recipe by myself nor decide on my own to post it. It’s actually one of the requests from a friend of mine who went and renewed her vows in Thailand last year. She and her husband did it UNDERWATER! Yes, you read it right, an underwater wedding can be done around Valentine’s day under the beautiful emerald-colored water in the Andaman Sea, at a province in the south part of Thailand named “Trung”.
Trang is a province south of Krabi. If you can locate Phuket, that is the island on the tip of Pang Nga province, south of Pang Nga on land is Krabi province, then Trang. This is the west side of Thailand’s south coast facing the Andaman Sea. If you only know the eastern side of Thailand south coast, Kho Samui is an island in Surat Thani province floating in the gulf of Thailand. South of Surat Thani is Nakhon Si Thammarat province, further south is Patthalung province, then east of Patthalung is Trang.
My friend took a road trip from Krabi heading down to Satun to go to Tarutao National Marine Park. On the way, they passed by Trang and it happened to be during the Valentines day. There is a group of people, always the same group, in Trang, who have been arranging this “underwater wedding” ceremony for 18 years in a row.
She joined the wedding just to renew her vows with her husband, since they were both dreaming about doing the underwater wedding for so long. (Who wasn’t? It would be my perfect wedding, mumble jumble through my vows, so no one can hold me to them!) And it was their 10th anniversary too.
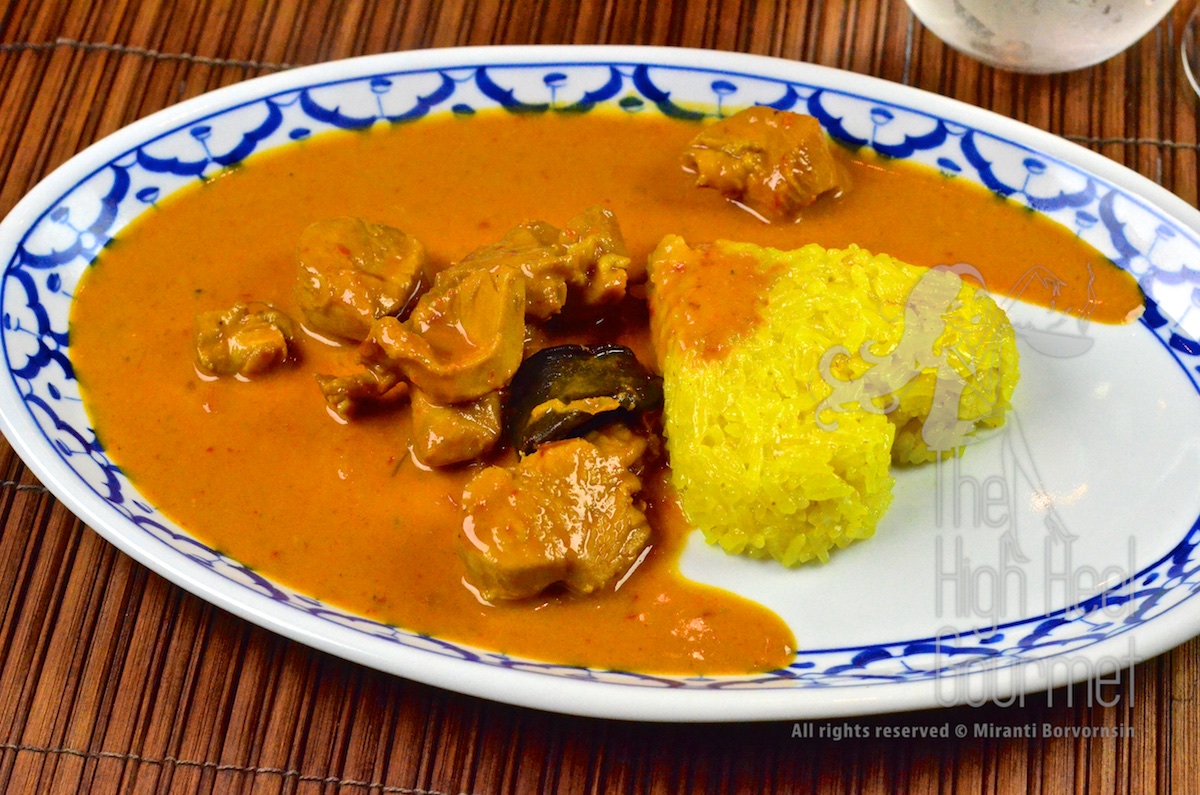
During the ceremony they were served the traditional southern dish for weddings, sticky rice with chicken curry. They loved it so much, they wanted to make it again for their anniversary this year. So my friend made that request and I thought it would be cool to share the recipe on my blog as my traditional Anti – Valentine’s dinner post, offering a simple home-cooked meal.
The southern Thailand tradition for weddings, especially with the Islamic community, is to serve sticky rice at a wedding ceremony. They call that “Gin Niaow”. (Gin=eat, Niaow=sticky but in this case it’s shorted from Khao Niaow=sticky rice)
Gin Niaow is often used to refer to the actual wedding ceremony in the far south of Thailand, where the Islamic community is huge, especially in Yala, Pattani, Narathiwas, Trang, Satun and Songkhla. In those provinces, when someone asks a dating couple, “When will you Gin Niaow?” (เมื่อไหร่จะได้กินเหนียว) they’re not really asking when will you eat sticky rice, but when will you get married.
Sticky rice has a hidden meaning in the “Gin Niaow”. It’s a superstition that it will make the marriage last, or the couple would stick together like sticky rice. Good analogy, isn’t it? (Too bad I never did that in any of my marriages!) Thai style is we happily drag any life events to compare with food!
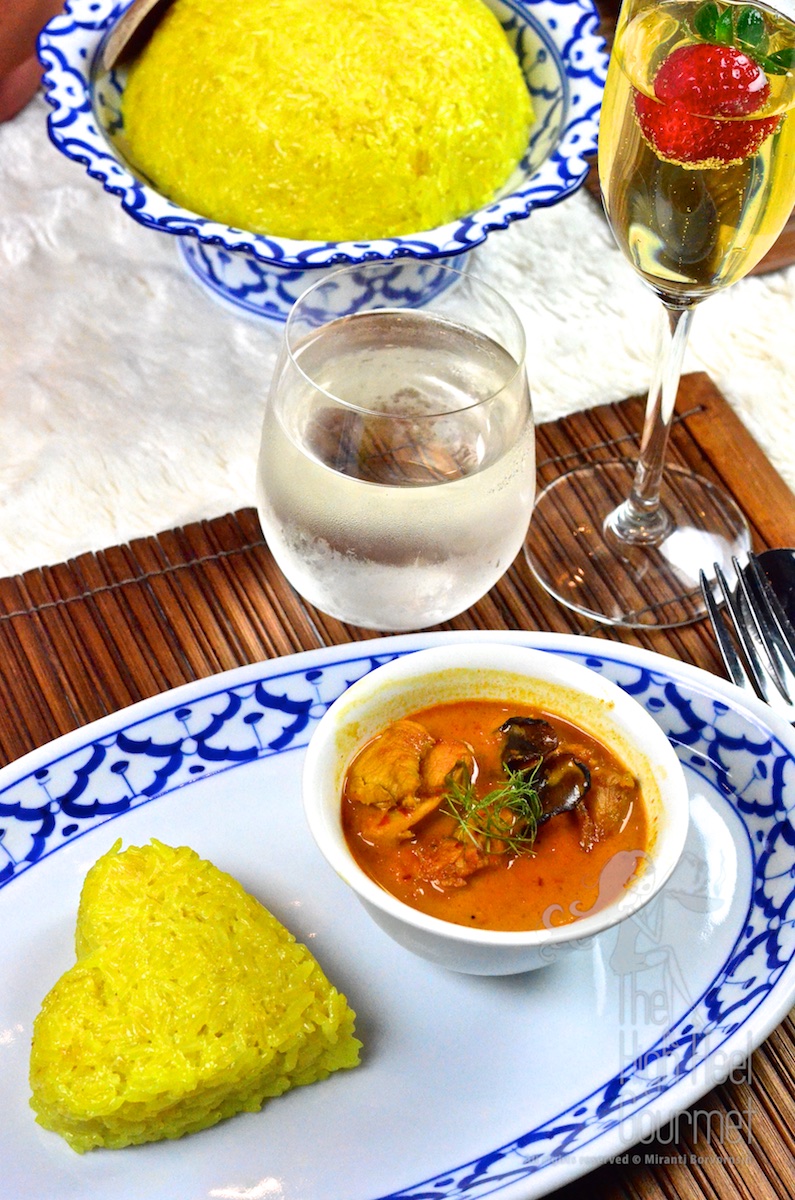
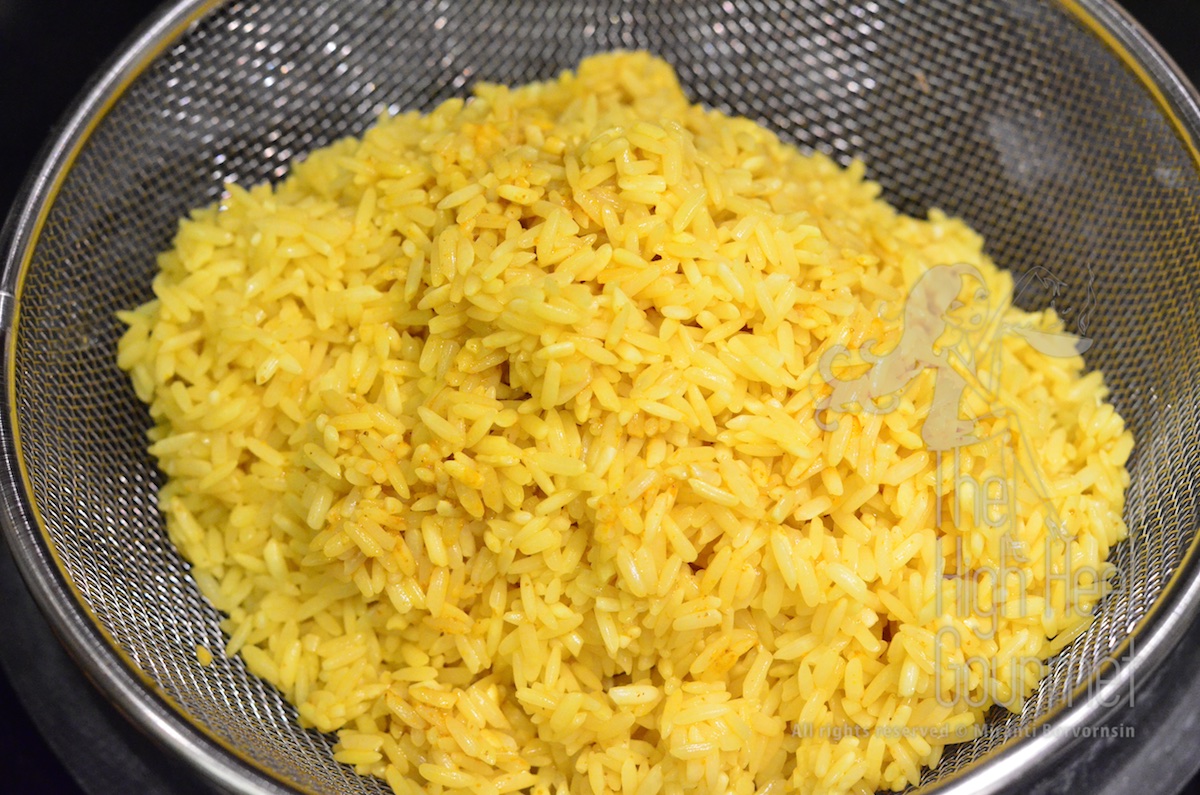
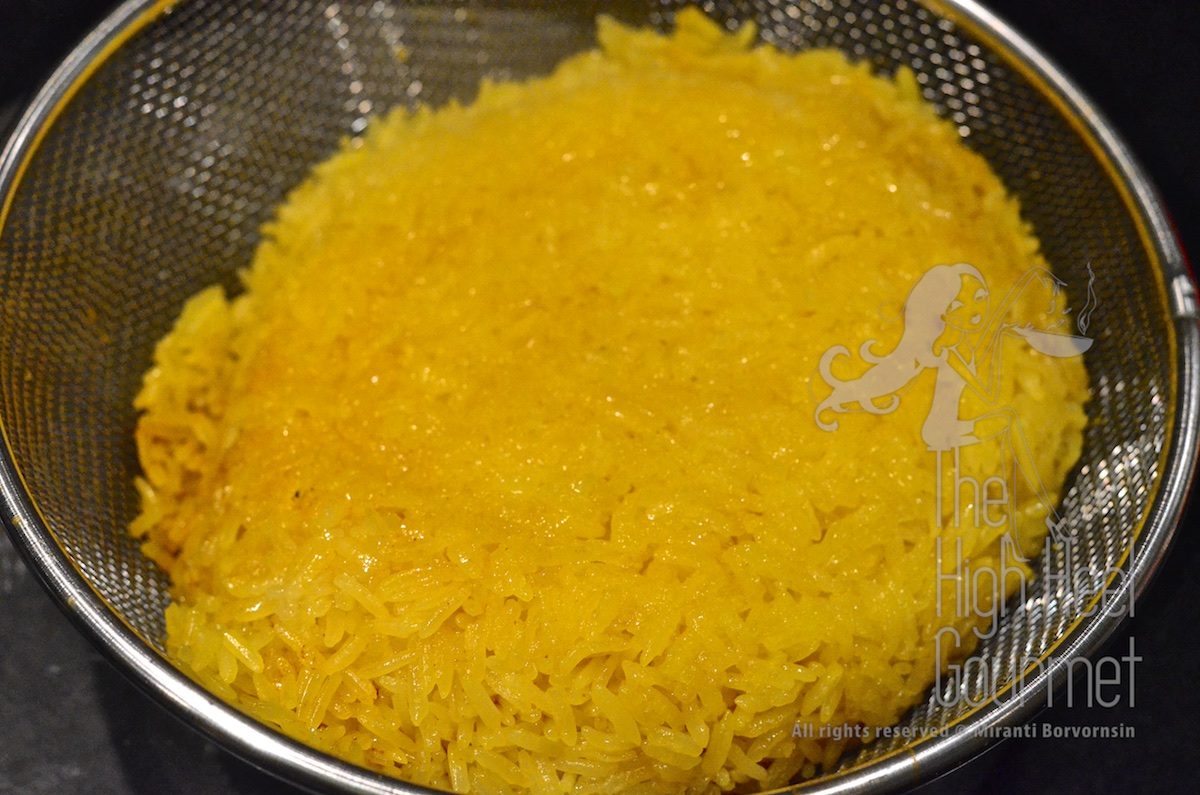
The sticky rice is cooked the same way you cook the sticky rice to eat with mango that I already posted as a recipe. Khao Niaow Moon eaten with the chicken curry this time is also sweet, but less sweet than mango with sticky rice, and it’s YELLOW!
Haha…I’m sure someone already thought, saffron…beep…wrong. The yellow color in the sticky rice is from turmeric root. I will give you the ingredients for the yellow rice, but you have to go back and visit my old post here, “Authentic Sticky Rice with Mango: Khao Niaow Ma Muang” to get the method of how to make sticky rice, Khao Niaow Moon.
Please, visit the link I provided if you really want the sticky rice beautifully done and NOT have it come out like rice pudding, like the way “ABOUT Something I don’t Know But Want To Write.com” would tell you to!
Ingredients for Sticky Rice (for 2 person)
Sticky rice (dry) 1 cup
Coconut milk 3/4 cup
Sugar 3 tablespoons
Salt 3/4 teaspoon
(Optional) Fresh turmeric, minced 1 teaspoon, or turmeric powder
Method
1) Soak the rice with the turmeric overnight.
2) Follow the method of making Khao Niaow Moon here.
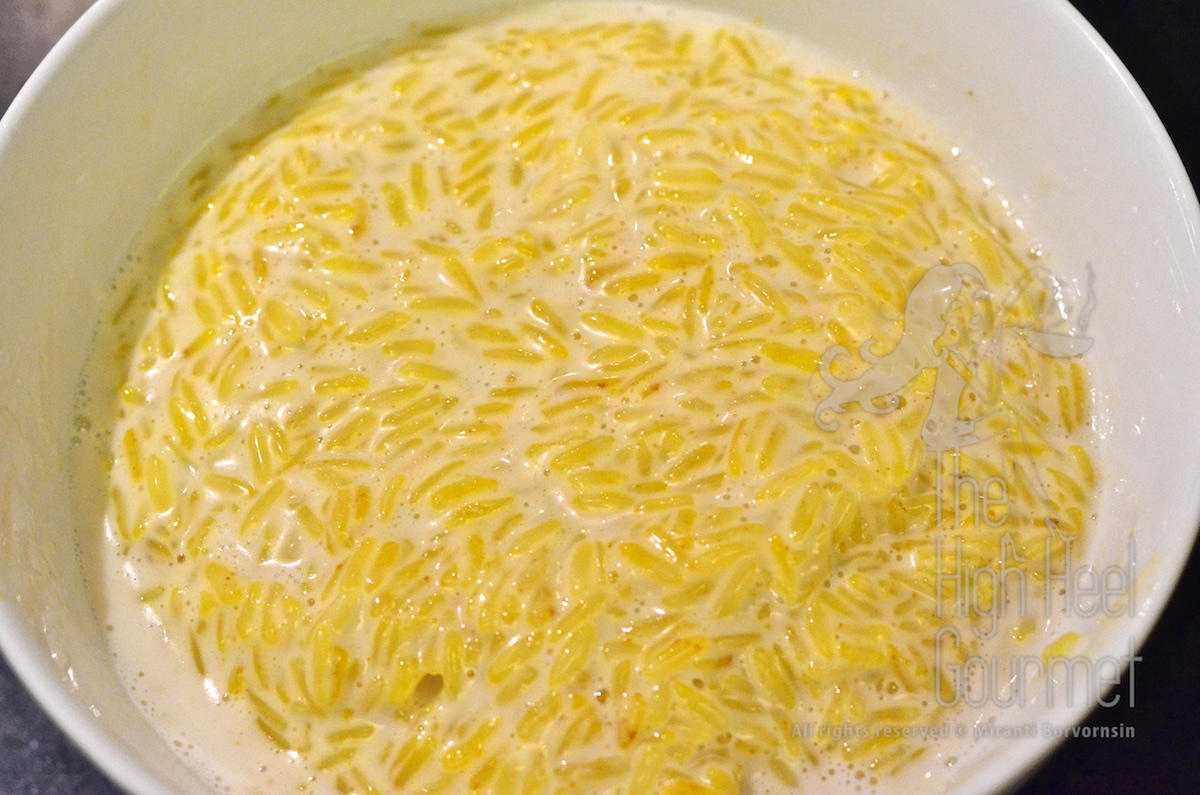
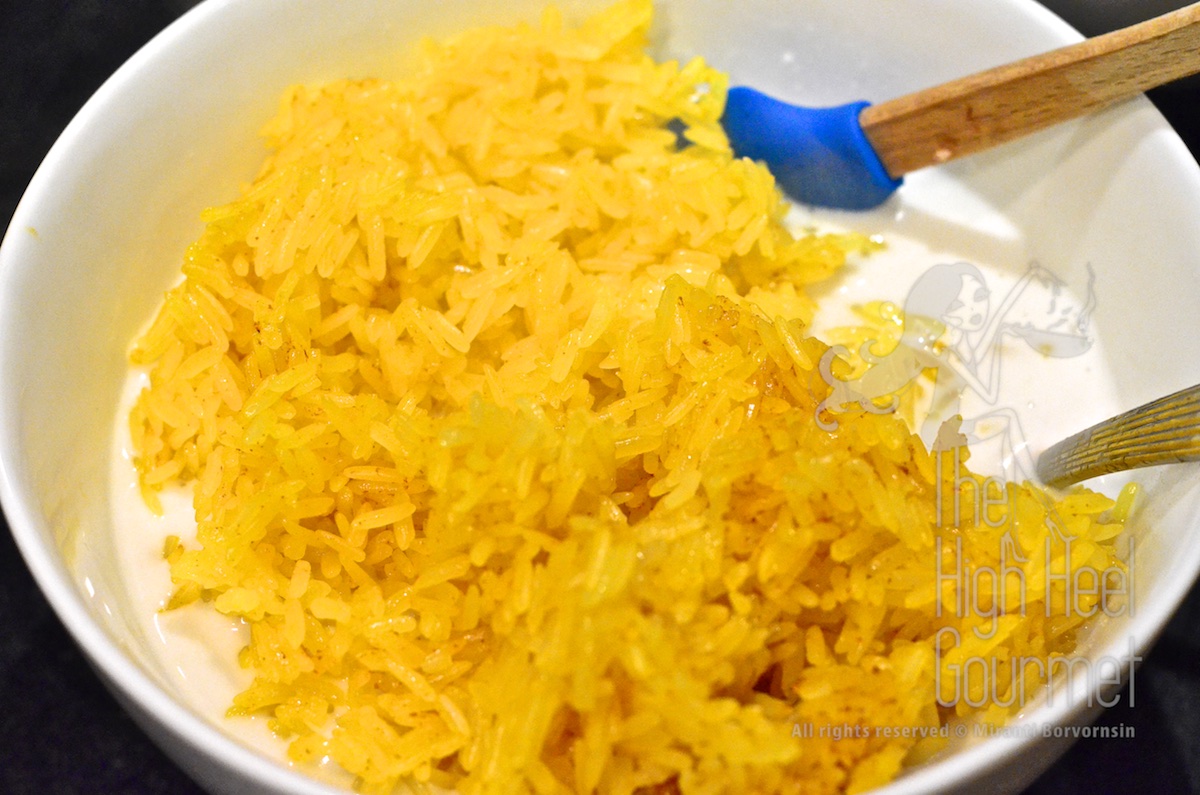
Stir quickly, make sure that all grains of sticky rice are coated with the coconut milk mixture and cover the bowl. Let it rest.
I strongly recommend READING THE WHOLE METHOD of how to cook the perfect sticky rice? How to make them sweet with coconut milk? (It’s caled “Moon Khao Niaow!) And spend the time reading the trouble shooting section too. I written them all in the “Sticky Rice and Mango” post here.
Next is to make the chicken curry. I have two recipes for curry paste. One is my family recipe, which is so simple—four ingredients in the paste. The other is the curry paste that they normally use in Trang province. You can try both.
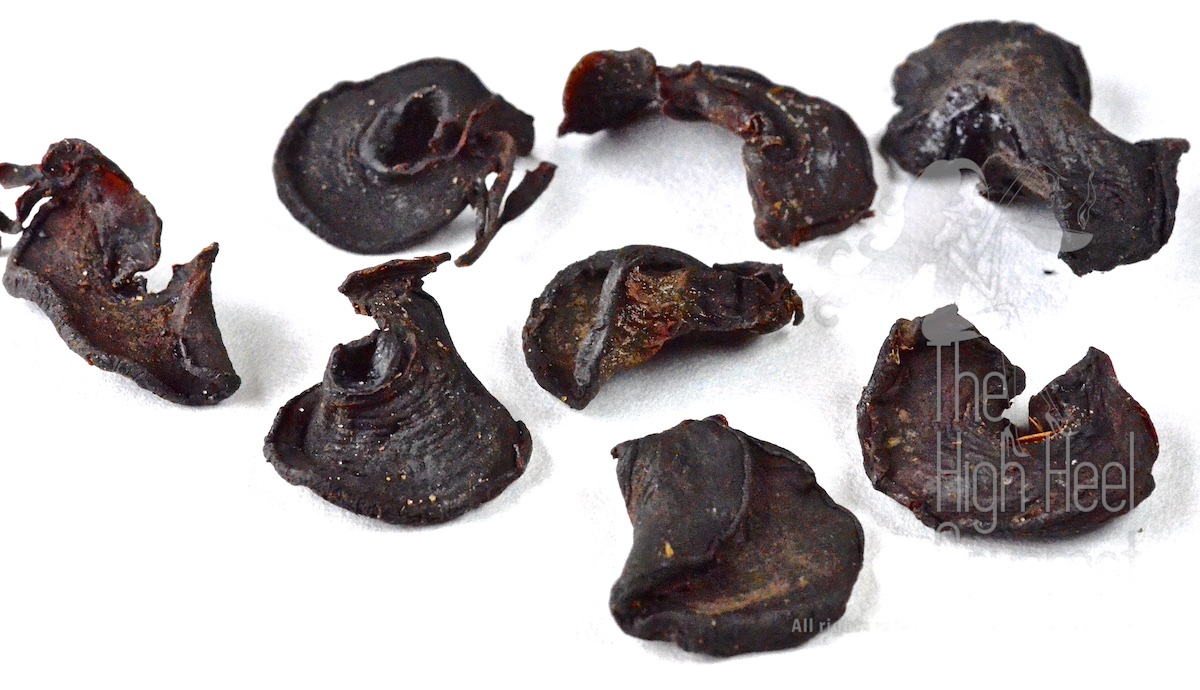
There is one ingredient that I want to explain to you. This new thing is called “Som Khag” in Thai, but it is known by “Garcinia Cambogia” in English. There are also many other names. Kudampuli is also the Indian name of this fruit.
Why do I want to talk about this?
Because I use it in the curry.
This is a type of citrus growing in the South of Thailand. It is very sour, and even its sour taste is quite different. You can buy this at an Indian market if your town has one. Ask for it by the name Kudampuli. It should look dark and dry, just like this:
You can also order it from Amazon, but you have to search with name Kudampuli, and not Garcinia Cambogia, or you will get something in capsule claiming to help you lose weight, which you will never lose if you continue to consume the same amount of food with the same amount of exercise.
If you can’t find it, then use tamarind pulp as the second choice, or citrus juice if you really, really can’t find either.
I provided you with 3 options for the curry paste. You only need to only choose just one.
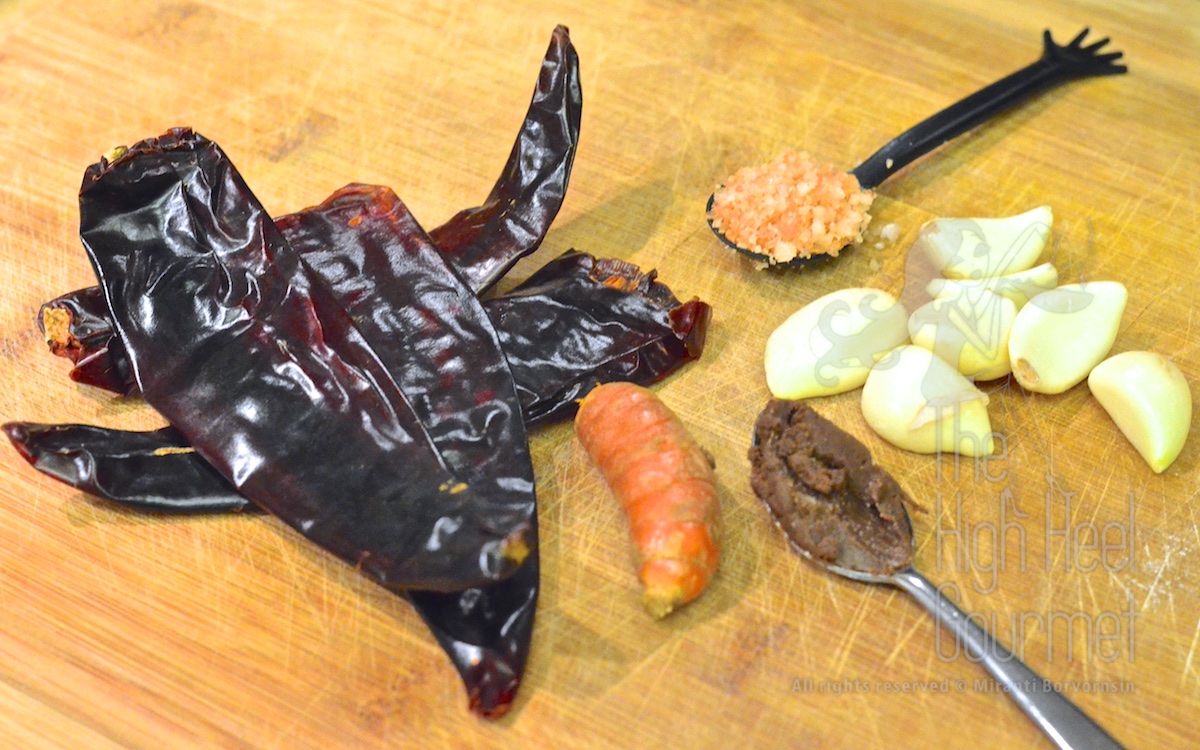
Ingredients for the curry paste option #1: My aunt’s recipe for simple curry paste
Dried chili, a handful
Garlic, another handful
Salt, a teaspoon
Tumeric, one root about 2 inches long (I’ve got mine from Wholefoods)
Shrimp paste 1 teaspoon
Method for the curry paste option #1:
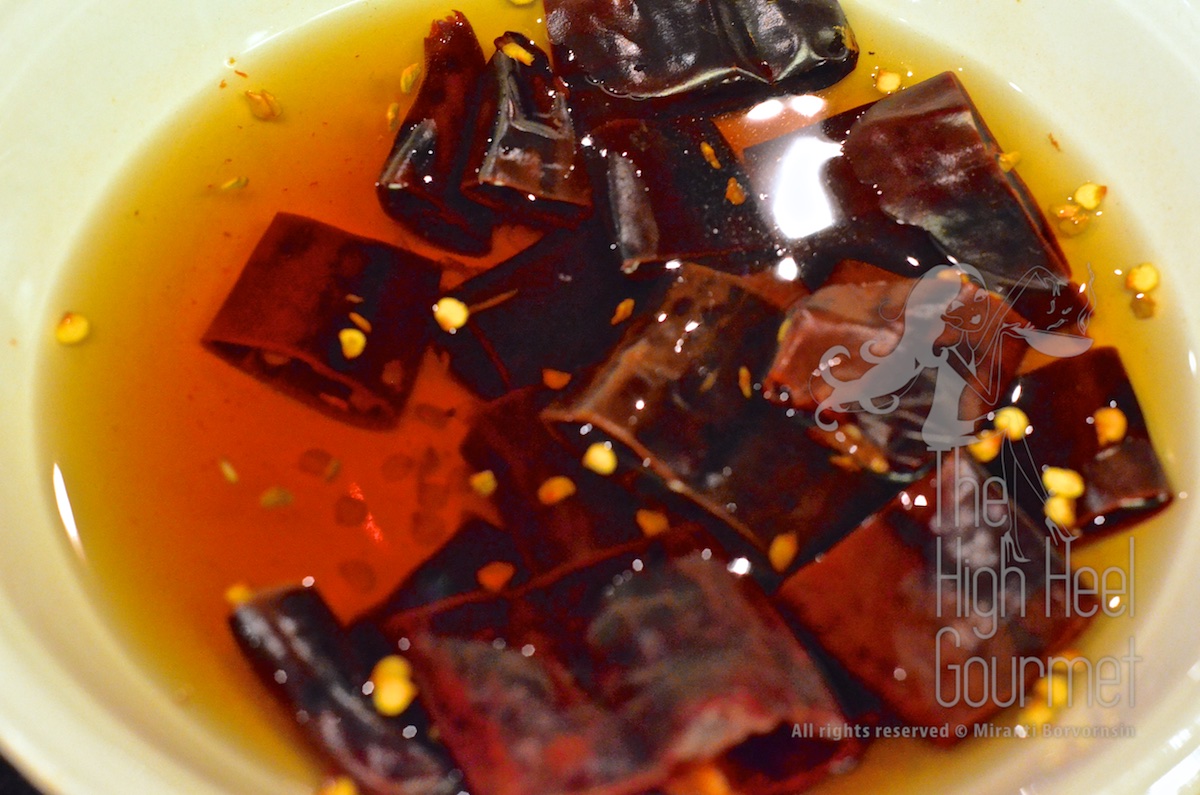
1) Soak the chilies first in room temperature water.
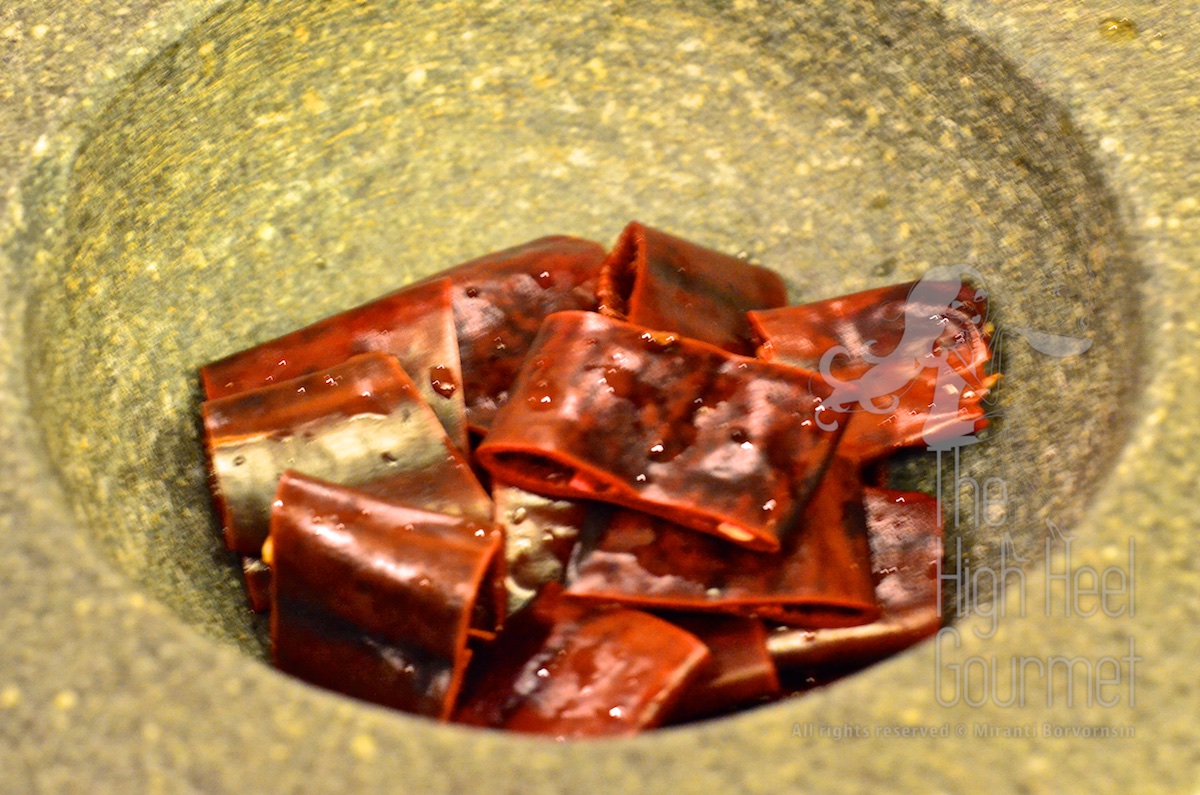
2) Then you are ready to make curry paste. I only made about half a cup so I pounded them together in the mortar in this order: chili and salt, grind together until fine.
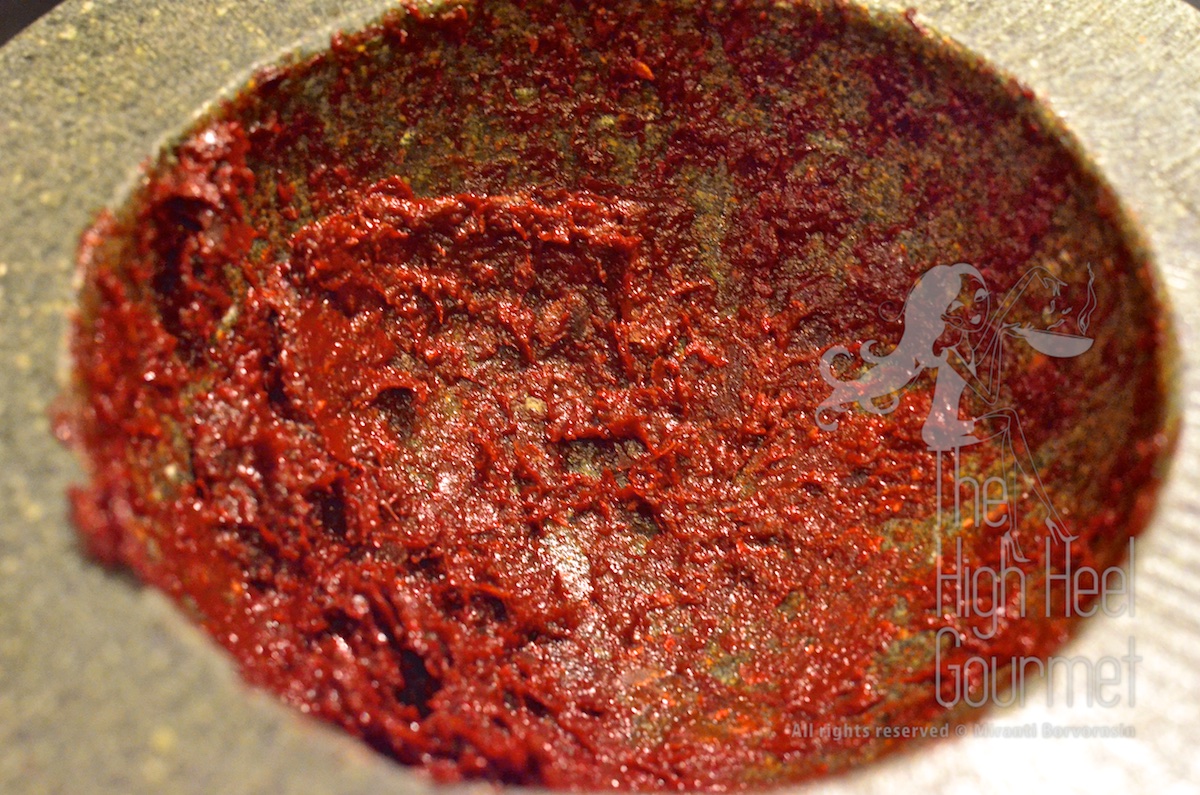
Then add garlic, pound until smooth, add chopped up turmeric root, pound them again until smooth.
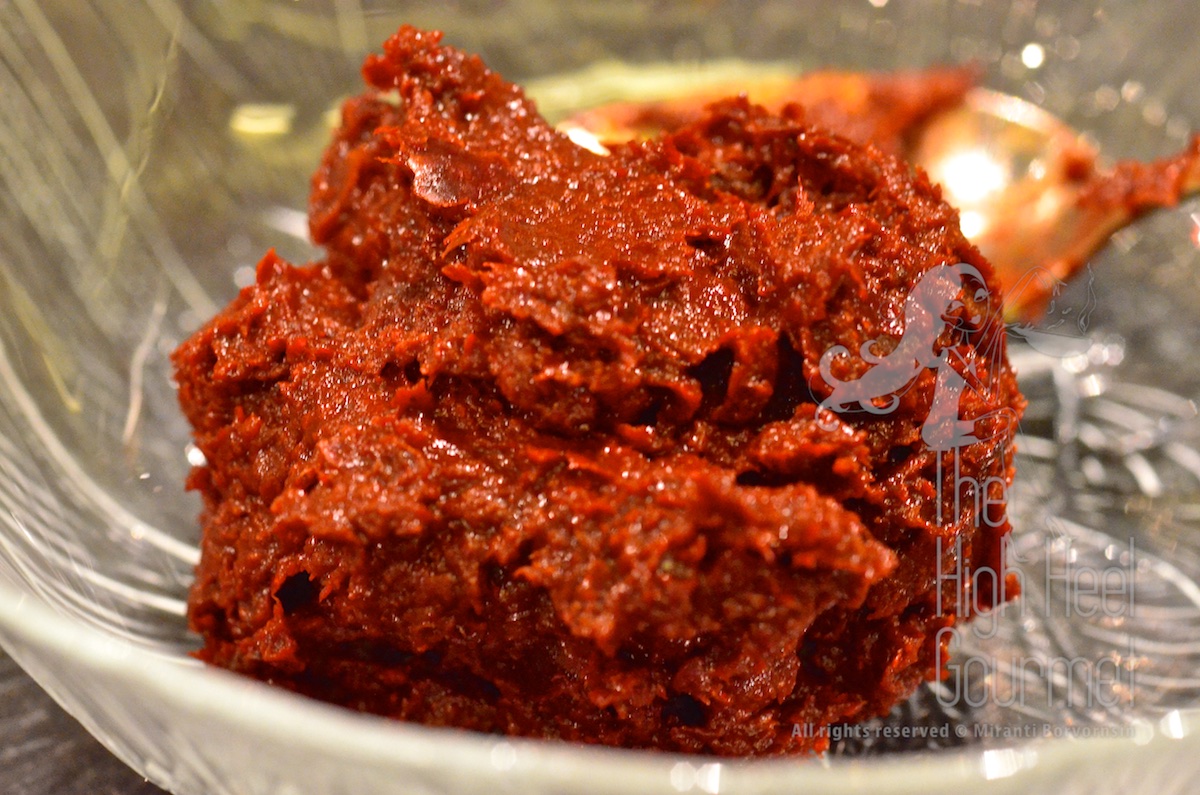
then add shrimp paste. This is the finished curry paste.
Ingredients for the curry paste option #2: Using the modified curry paste from Kaeng Kua Curry Paste
Kaeng Kua curry paste (I already provided the recipe, just click on the link, or you can buy pre-made curry paste) 1/3 – 1/2 cup
Fresh turmeric root, chopped 2 tablespoon (or turmeric powder)
Garlic, chopped 1 -2 tablespoon
Cumin roasted 1/2 teaspoon
Coriander seeds, roasted 1 teaspoon
White cardamom, roasted with the seeds removed from the pod, 1/2 teaspoon
Method for the curry paste option #2:
1) Just pound them like I explained in this advance curry paste post until you get a smooth curry paste.
Ingredients for the curry paste option #3: Using pre-mixed curry paste that you can buy from the store. I recommend buying the brand in the small can.
Kaeng Kua curry paste 1/4 cup
Massaman curry paste 2 tablespoons
Turmeric root, chopped 2 tablespoon or Turmeric powder 1 tablespoon
Method for the curry paste option #3:
1.1) If you use turmeric root, pound them until fine and add both curry paste and mix until well blended.
1.2) If you use turmeric powder, just mix them together until they’re all well blended.
Now we got the curry paste, we’re ready to make a pot of curry.
Ingredients for the curry:
Chicken, cut the way you want to eat 2 cups
Curry paste 1/3 – 1/2 cup
Coconut milk 2 cups
Fish sauce 3 tablespoons
Palm sugar 1/4 cup
Kudampuli (can be substituted with tamarind pulp) 1/4 cup
Kaffir lime leaves
Method for cooking curry:
1) Cook the coconut cream until it breaks (refer to my curry cooking method here)
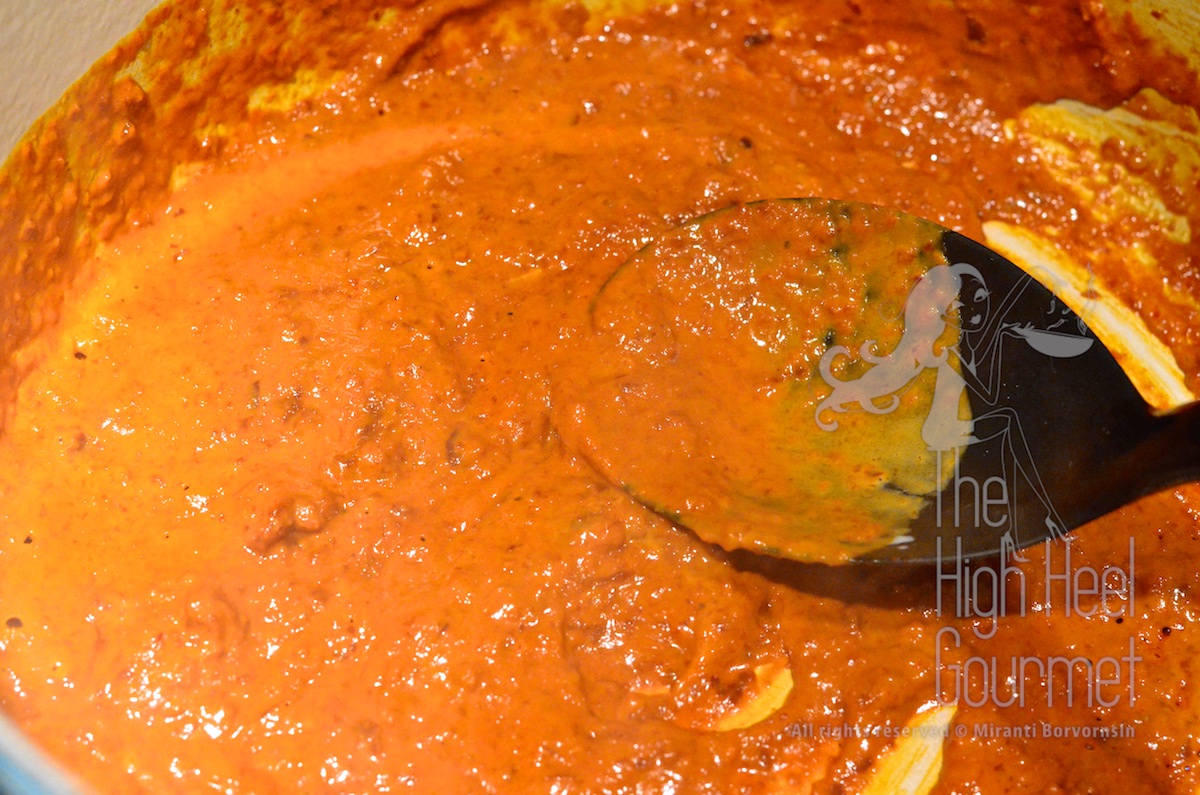
2) Add curry paste with coconut cream, cook until fragrant
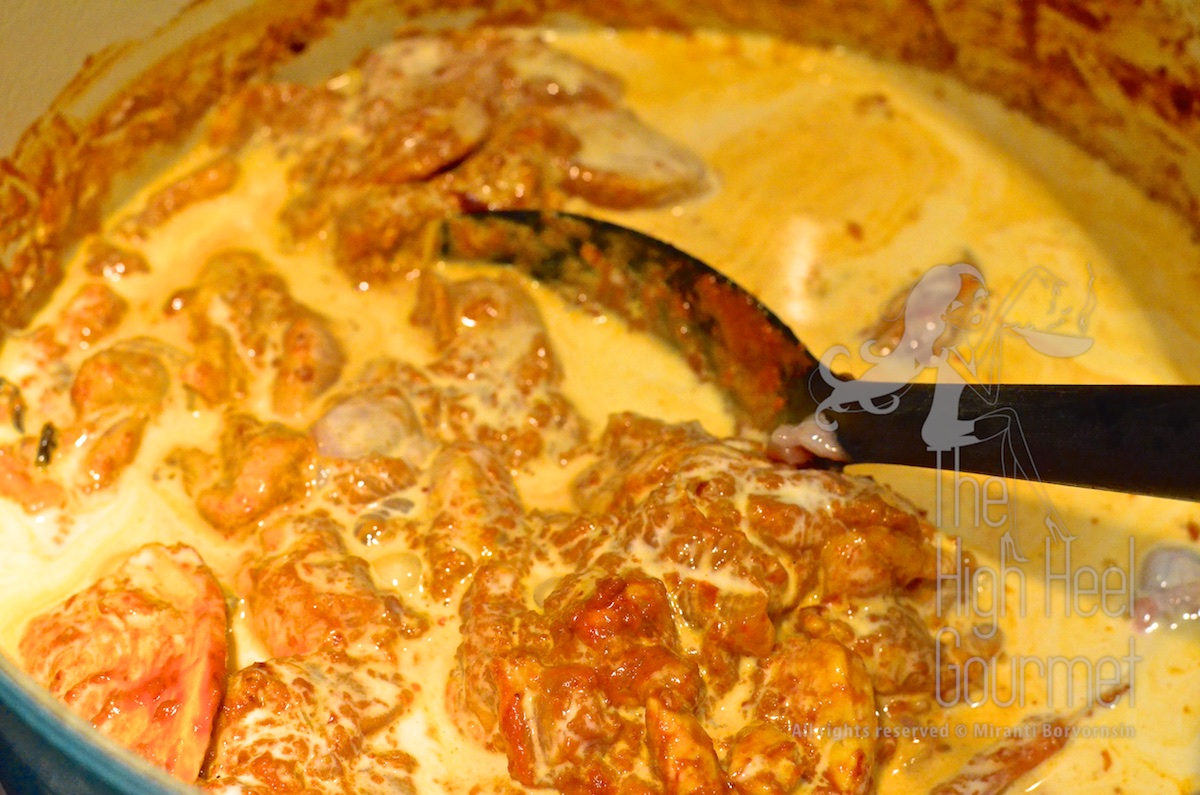
3) Add chicken and cook until the outside is cooked
4) Add more coconut cream and Kudampuli
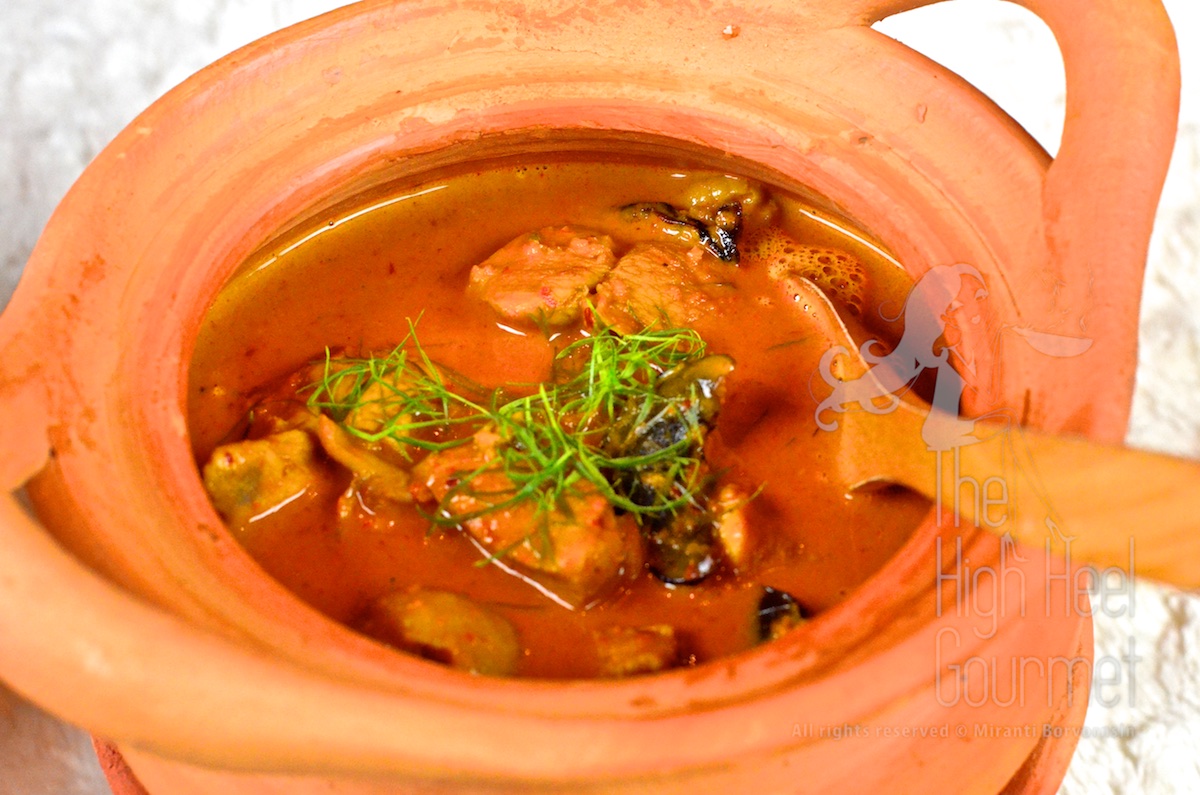
5) Add the seasoning and taste test, then let the curry simmer for another 10-15 minutes so the Kudampuli releases its sour taste. The longer you simmer the sourer you will get. Taste the curry again and adjust the taste to your preference.
6) Put in kaffir lime leaves and let it boil a few more minutes before serving.
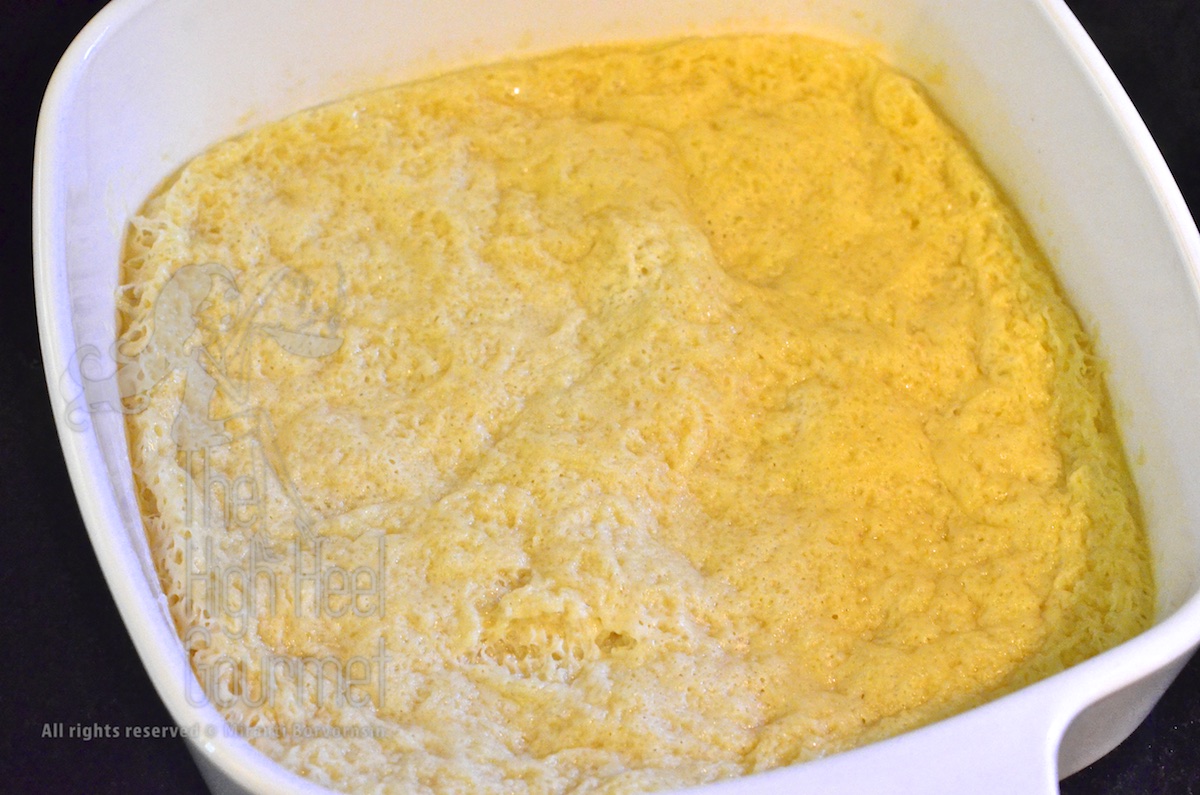
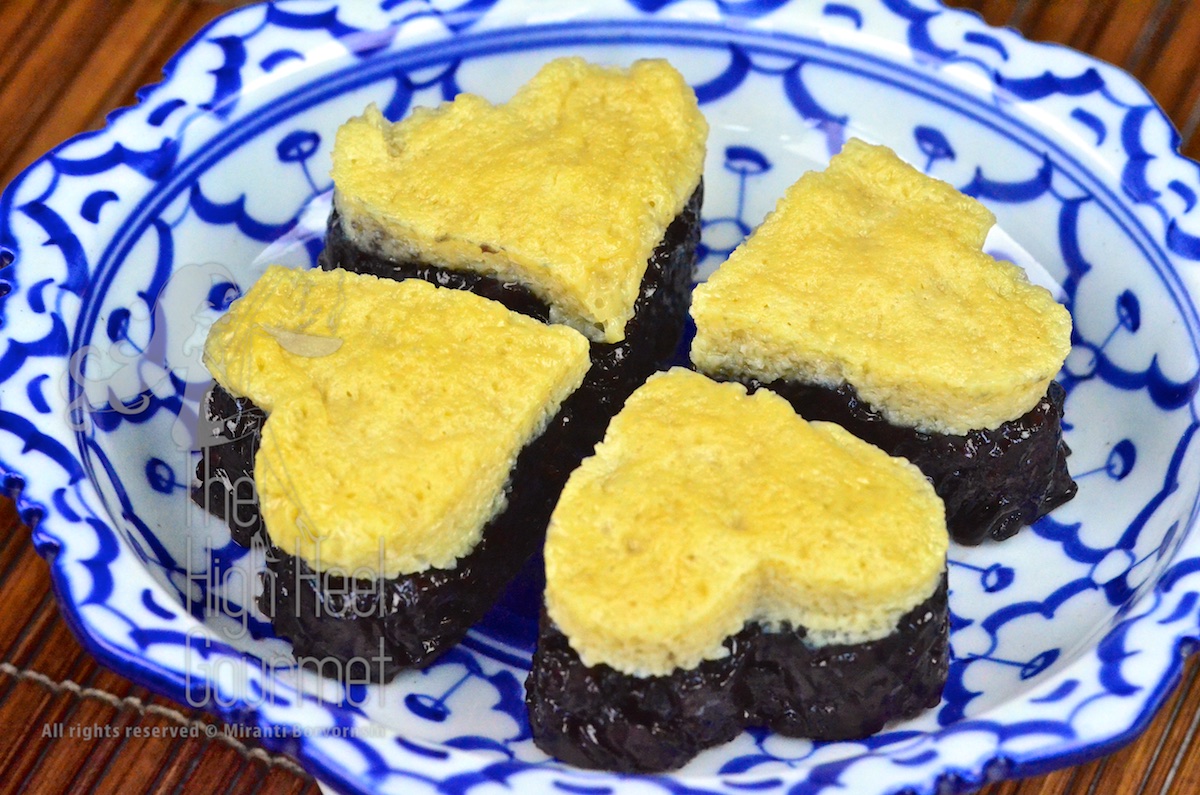
Since this is the special Valentine post, I should also give you at least a choice for dessert, too. This is also in the same theme with “Gin Niaow”. The custard with sticky rice. This used to be my favorite dessert when I was a kid. The custard is made with eggs, coconut milk and palm sugar, then cooked by steaming in the steamer. This custard is called “Sung Khaya” or “Sang Khaya” (สังขยา) and together with the sticky rice the dessert is called “Khao Niaow Sung Khaya”. The texture of the custard is not going to be smooth as silk, like the caramel custard you know.
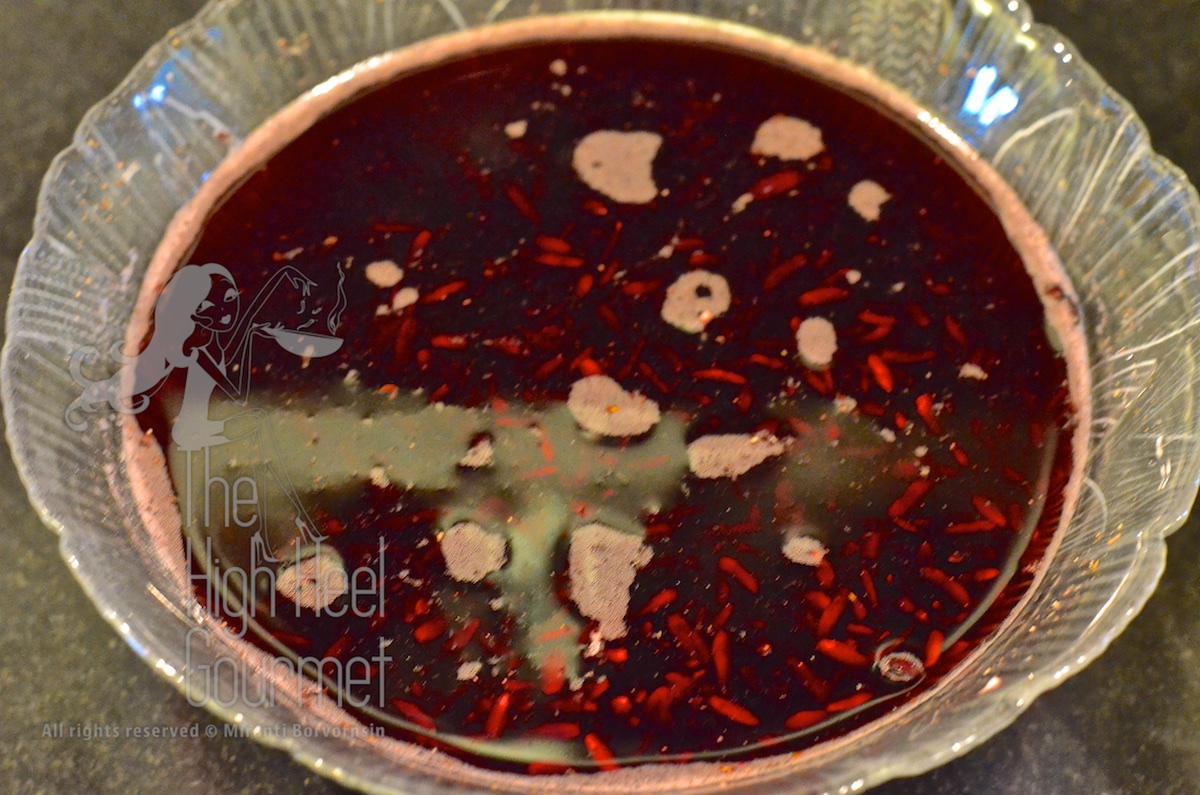
Steaming the egg with high heat causes the custard to be porous all over and oh boy, it goes so well with the Khao Nieow Moon. So, if you want to make dessert together with the yellow sticky rice, you can soak them separately. This time I use the forbidden rice instead of the regular sticky rice.
Black sticky rice takes twice as long to cook and you really have to soak it overnight beforehand.
Ingredients for the black sticky rice
Black sticky rice or forbidden rice 1/2 cup
Coconut cream 1/3 cup
Granulated sugar 3 tablespoons
Salt 1/4 tablespoon
Method for cooking black sticky rice:
1) Same as the method here but you need to steam to cook the black sticky rice at least 40-50 minutes and flip it 3-4 times, around every 10 minutes.
2) The coconut milk has to be hot, too, so warm it up in the microwave or boil it before you put black sticky rice in.
3) As soon as the rice cooked (you can taste to see if it cook through first), then add the warm coconut milk to the sticky rice and cover for half an hour.
Ingredients for the custard:
2 eggs
Coconut milk 50 g
Palm sugar 50 g
Pandan leaves, 1 leaf
Method for the custard:
1) Set the steamer over high heat and start steaming the water.
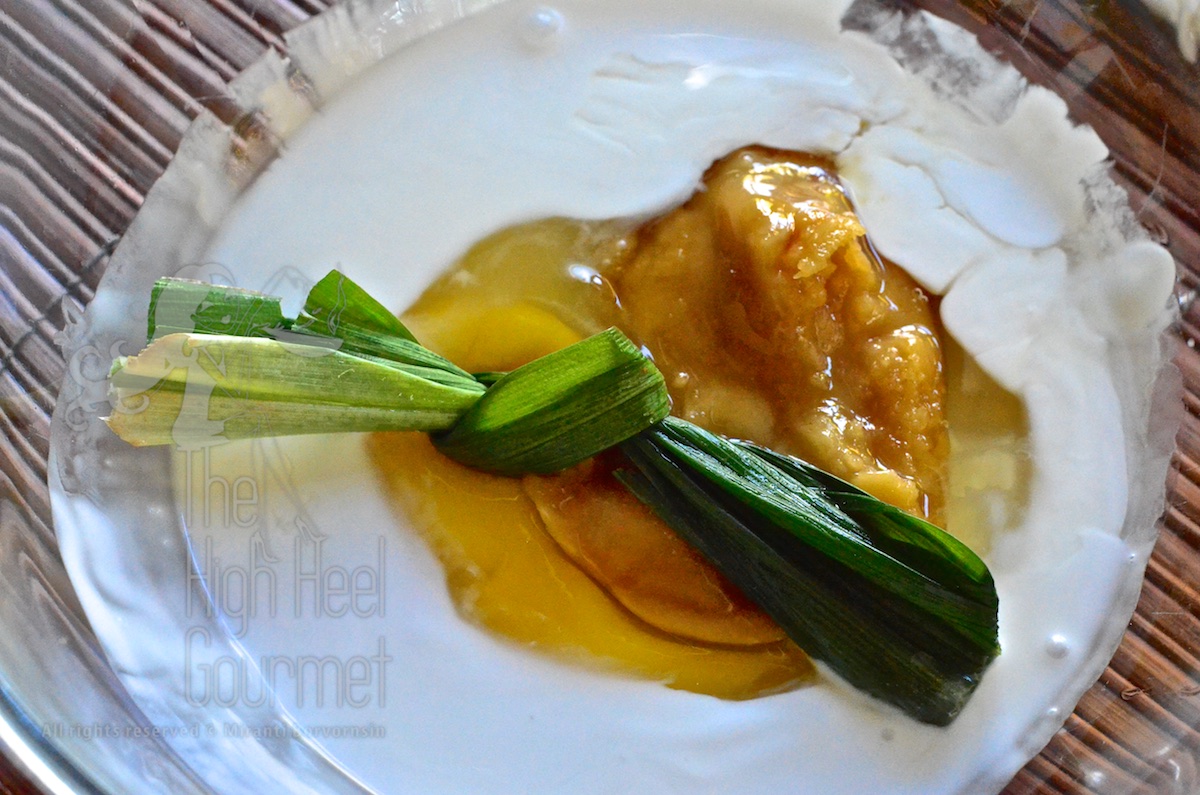
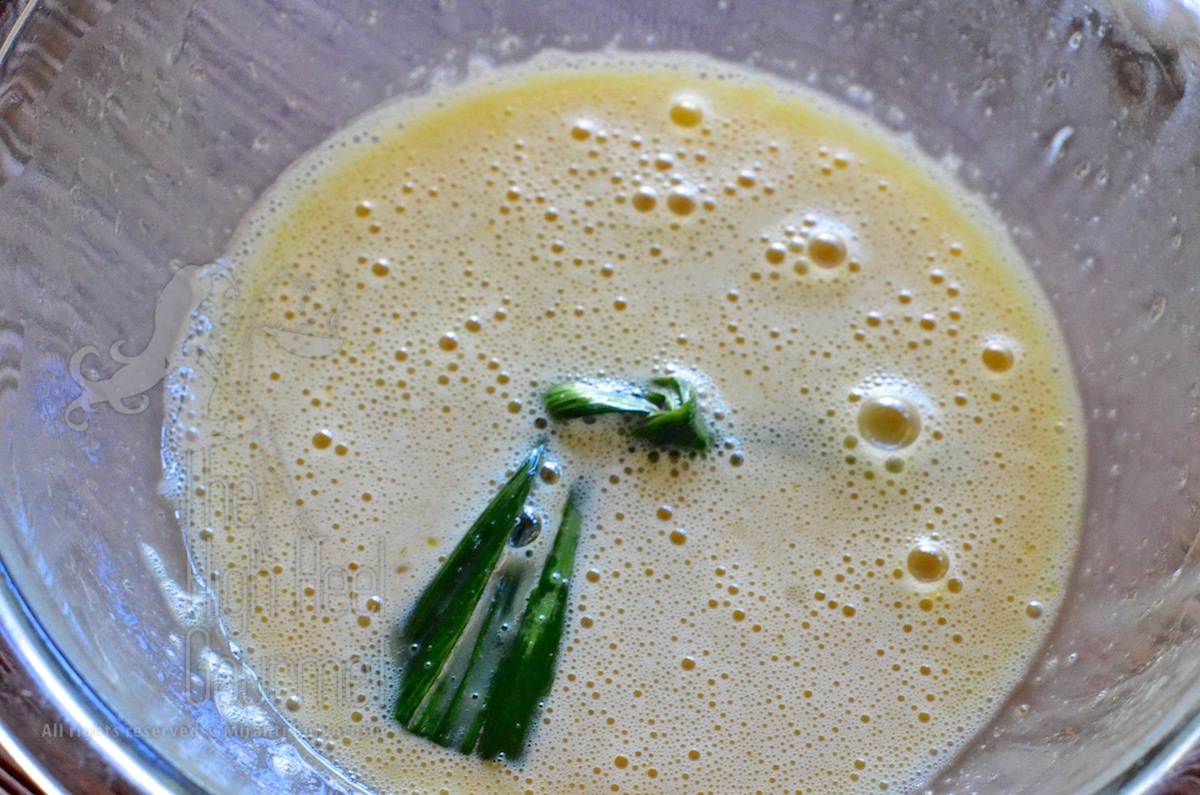
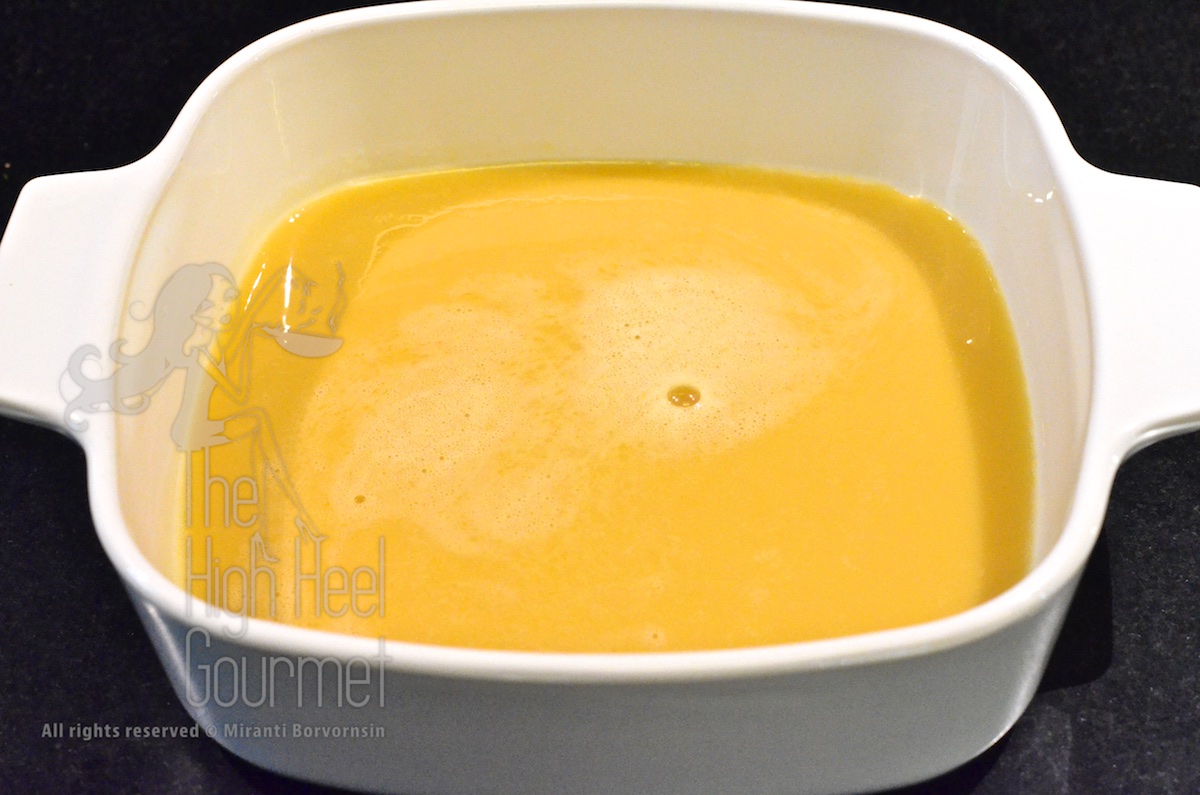
2) While you wait for the steamer to reach a rolling boil, put everything together in a bowl
and use your hand (just one) to squeeze the Pandan leaf and mix all the ingredients together.
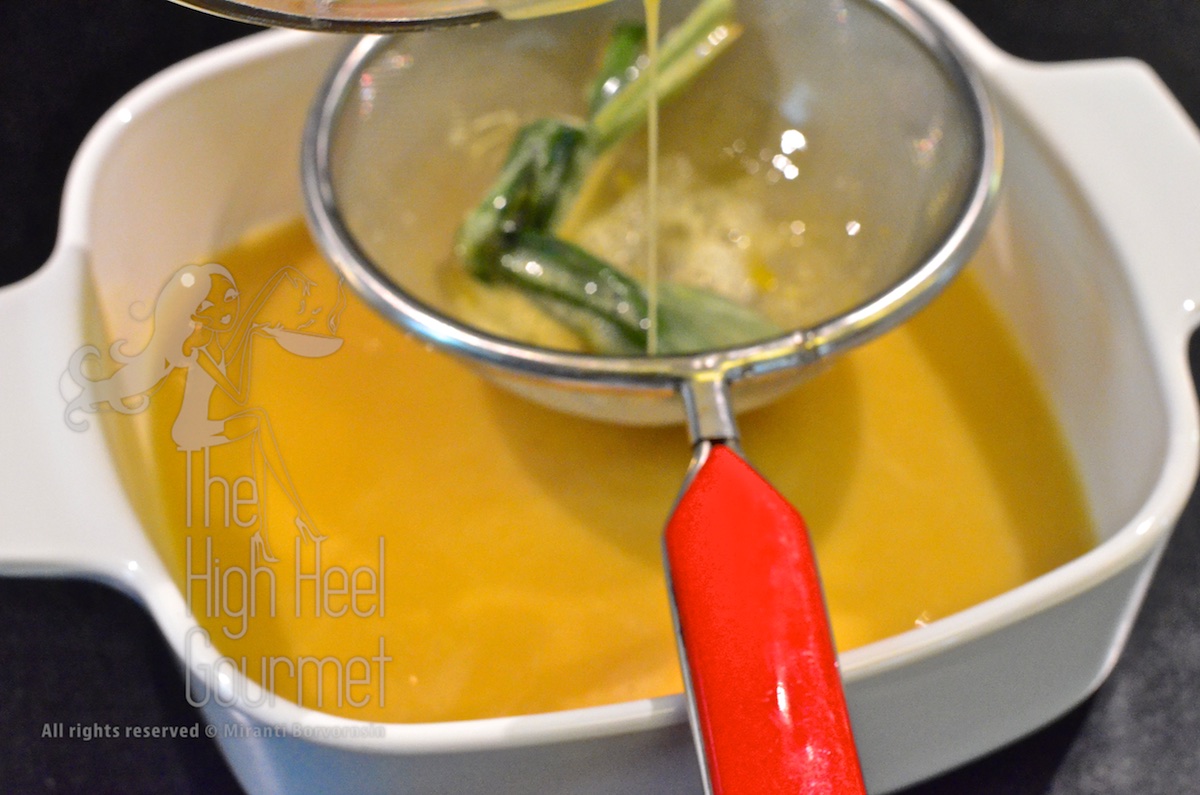
2) Strain them through a sieve, putting the contents in a bowl.
3) The steamer should be ready. Put the bowl in the steamer and make sure that the water is at rolling boil for 20 minutes.
4) Turn off the heat and remove the custard right away.
5) Serve over black sticky rice.
I hope you are happy about not having to sit in a restaurant with many other couples, saving your special night out for some other night.

Reblogged this on The ObamaCrat™.
Thanks
My pleasure, thank U 4 sharing with us.
This looks great!! Good job. :0
Thanks
You’re welcome.
Hi, Mira!
What a cool and cute dish!
Is the forbidden rice you use glutinous? We have two types of black rice here in Indonesia. The glutinous and the “common” one.
Yes, it is glutinous. I don’t know if I ever had the “common” one. There are a few kinds of black rice here. This is Thai black sticky rice which us not so black in the bag. The grain is not black all over like other kinds. Then there is a Korean or Japanese one that is so black. I used that for sushi. It’s sticky but I think it is not as sticky as Thai black sticky rice. And the Chinese forbidden rice. This one I haven’t try yet. It still packed in the bag.
Wow!
You know so much about black rice!
It must be so fun to be able to try ’em all in cooking!
😀
Yes, it is. I’m still learning about them.
I love the heart shape.
So do I 🙂
All of this looks amazing, I love the heart shapes you’ve added! I’m also glad you added tips on how to successfully steam black sticky rice; my family and I have been wondering about that for a while.
Thanks for telling us about the Southern Thai custom of กินเหนียว. It’s so sweet and apt. It’s only recently that I’ve been consciously learning a little bit more about Southern Thai culture and cuisine, and I’m greatly appreciating each and every morsel so far.
Pear
The black sticky rice is very tricky. The grains don’t want to stick to each other. My grandmother usually mixed them with white sticky rice ration 1:1 just to help the black sticky rice stick when you “moon” them and also help the finish product not to look so black. I just don’t like the mix so I’m stubborn and use only the black rice. Soak them for a long time and steam for a long time is my stubborn trick. If you make more than half a cup, you will have to steam even longer. The rice grain need to expand a little bit for it to stick to each other but you don’t need to be as stubborn as I am. You can add the white sticky rice to it. I found that just a little can help, 2:1 is still better than no white sticky rice at all. Be very careful to add the white sticky rice in after you steam the black sticky rice for at least 30 minutes so the white sticky rice won’t be so expand and mushy in the finish product.
I’m glad you found my blog useful! My family are from Songkhla but I grew up in Bangkok. So I know some of the tradition but not as much as someone who grow up in the south. I have to ask my relatives about those traditions too.
Everything looks delicious! 🙂
Thanks!
Looks great!
Thanks 🙂
That looks so cute! And I thought I’m being fancy with trying to make heart-shaped burgers. This is a lot fancier! 🙂
How did you make that? I tried but once it proofed…the heart shape turned in to pear shape. I have to force it in a cookie cutter which I only have on for each size! I also have the loaf or tube mold that I can make the canapé bread in heart shape but it’s not easy.
So much detailed information! Your posts are amazing. This looks like a wonderful Valentine’s dinner. Thank you for all the effort you put into your blog to help us learn about Thai food.
Thanks…I’m glad you know a few more things about Thai cuisine from my blog. 🙂
You make everything look so appetizing. Thank you for sharing. Have a great day! 🙂
Thanks 🙂
yum!!!
Looks Devine!!
is there any trick to clean your hands after grating turmeric?
Each time I grate some my nails are yellow for a day! 🙂
I tried soap, water with sugar…
Cheers
Scratch a bar of beeswax before you start. Beeswax will coat your finger and fingernail so you don’t get yellow color on them and wash off with warm water and soap.
is there any trick to clean your hands after grating turmeric?
Each time I grate some my nails are yellow for a day! 🙂
I tried soap, water with sugar…
Cheers